Sunday, June 23, 2019
Card-a-mon tutorial No. 4: PDF generation options
This is third tutorial about Card-a-mon. It is recommended to check first and second tutorials if you have not done that yet. You can look into third tutorial as well.
You can watch video, read tutorial or you can do both:
Now you have game with your own images and you want to generate PDF for printing. Most probably you have tried default ones and potentially you are happy with them. So you might wonder why other options are in there.
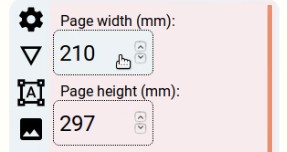
We can start with the simplest ones. Page width and height. By default Card-a-mon shows A4 size. However if you are in US you might want to change those values to Letter size what is 215.9 mm by 279.4 mm.
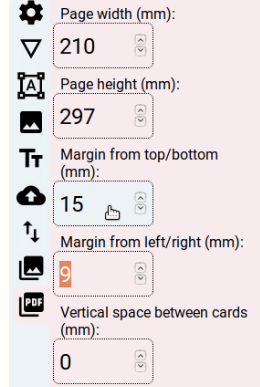
Next setting is margins. Usually you want to have some, especially if your printer does not support margin-less printing. However if you have a good printer you can remove the margins completely.
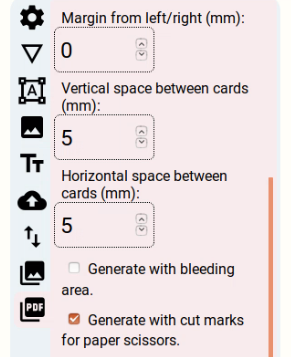
Now you can add some space between cards sa well. In video I’m saying that I don’t know why you might want that but actually I have added this option because of Cardmogrifier from 4d10. I’m sure there might be other reasons where you might need this.
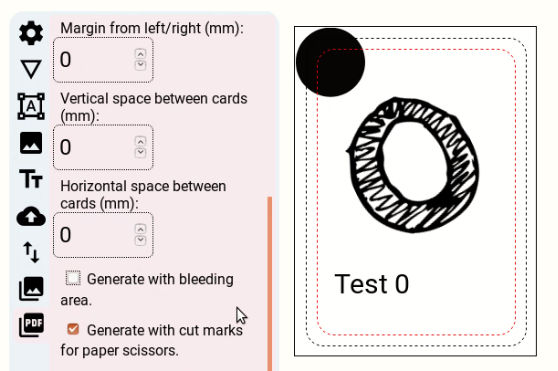
By default PDF is generated without bleeding area. I have put black circle partially in the bleeding area.
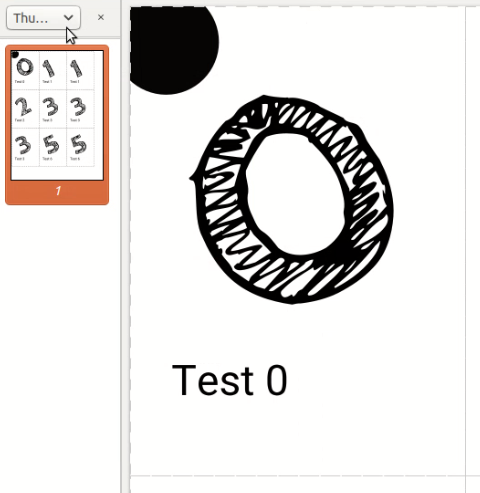
Because we are generating without bleeding area black circle gets cut in PDF. This is actually what is going to happen with your printed card.
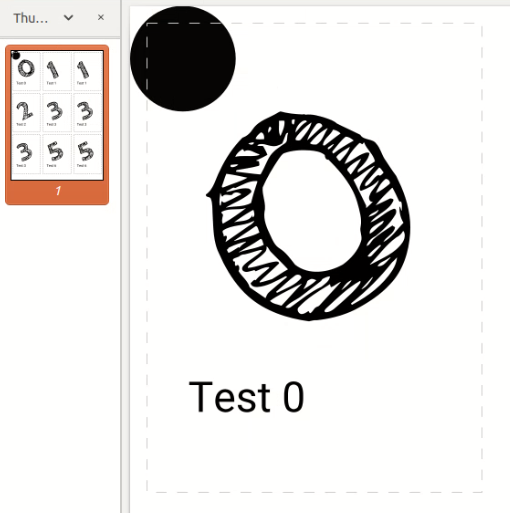
Here you can see how card looks like if we generate PDF with bleeding area. Notice that cutting marks for scissors overlay over black circle.
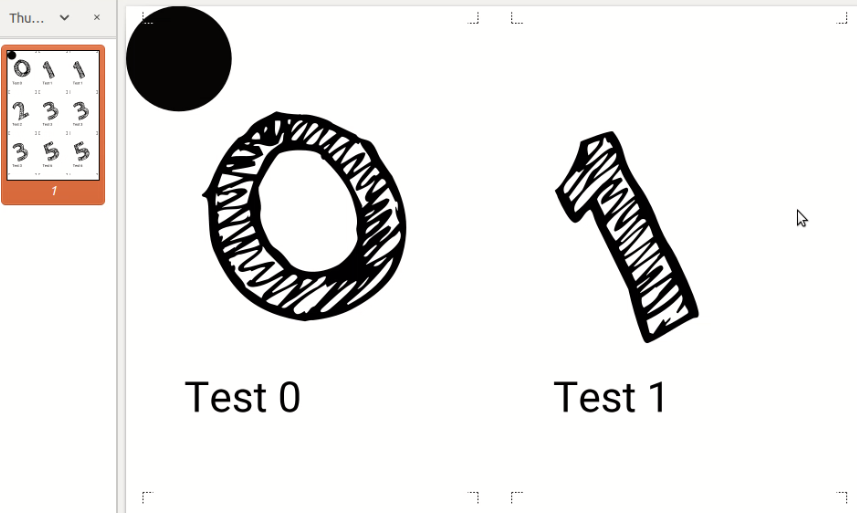
Now if you have guillotine or rolling cutter you might not want to have such visible cutting marks. Maybe you prefer small ones that will help you to cut your cards exactly where you want. For that you need to use an option “Generate with cut marks for paper guillotine”. Here you see result of using this option.
Now if you have margin area you can generate cuttings marks in it as well.
The last option is “Generate cut marks on front side only (useful for printing on both sides).”. Some people prefer to print both sides separately and glue them together. In that case do not use this option. However if you want to print both sides on single page then I recommend using this option. Printers usually are not perfect and there will be mismatch between different sides. In that case you might want to have cuttings marks only on one side.
Lastly in video I have not covered that you can generate PDF for the whole game. You can do this in the page of your game. There are only few things you should know:
-
Card sets are sorted alphabetically and are put into PDF in that order.
-
If two subsequent card sets have the same size of cards then Card-a-mon will try to put them as compact as possible so you would save a paper. Otherwise each card set will be put on its own set of pages.
Thanks for reading this series of tutorials of Card-a-mon. I hope you have found it useful and you will create some great games using Card-a-mon.
Lastly, if you have comments, suggestions and etc. do not hesitate and contact me by e-mail dalius.dobravolskas@gmail.com or any other way you find appropriate for you and me.