Saturday, October 21, 2023
Keyboard with joysticks (part 2)
So PCBs arrived in a week or something like that (instead of 3 weeks) while I have chosen cheapest delivery option from JLCPCB. I am OK with that as I can do some initial work with it.
I have started with soldering rp2040-zero first. First I have shortened long side of headers with scissors - surprisingly that worked quite well and allowed to cut headers evenly.
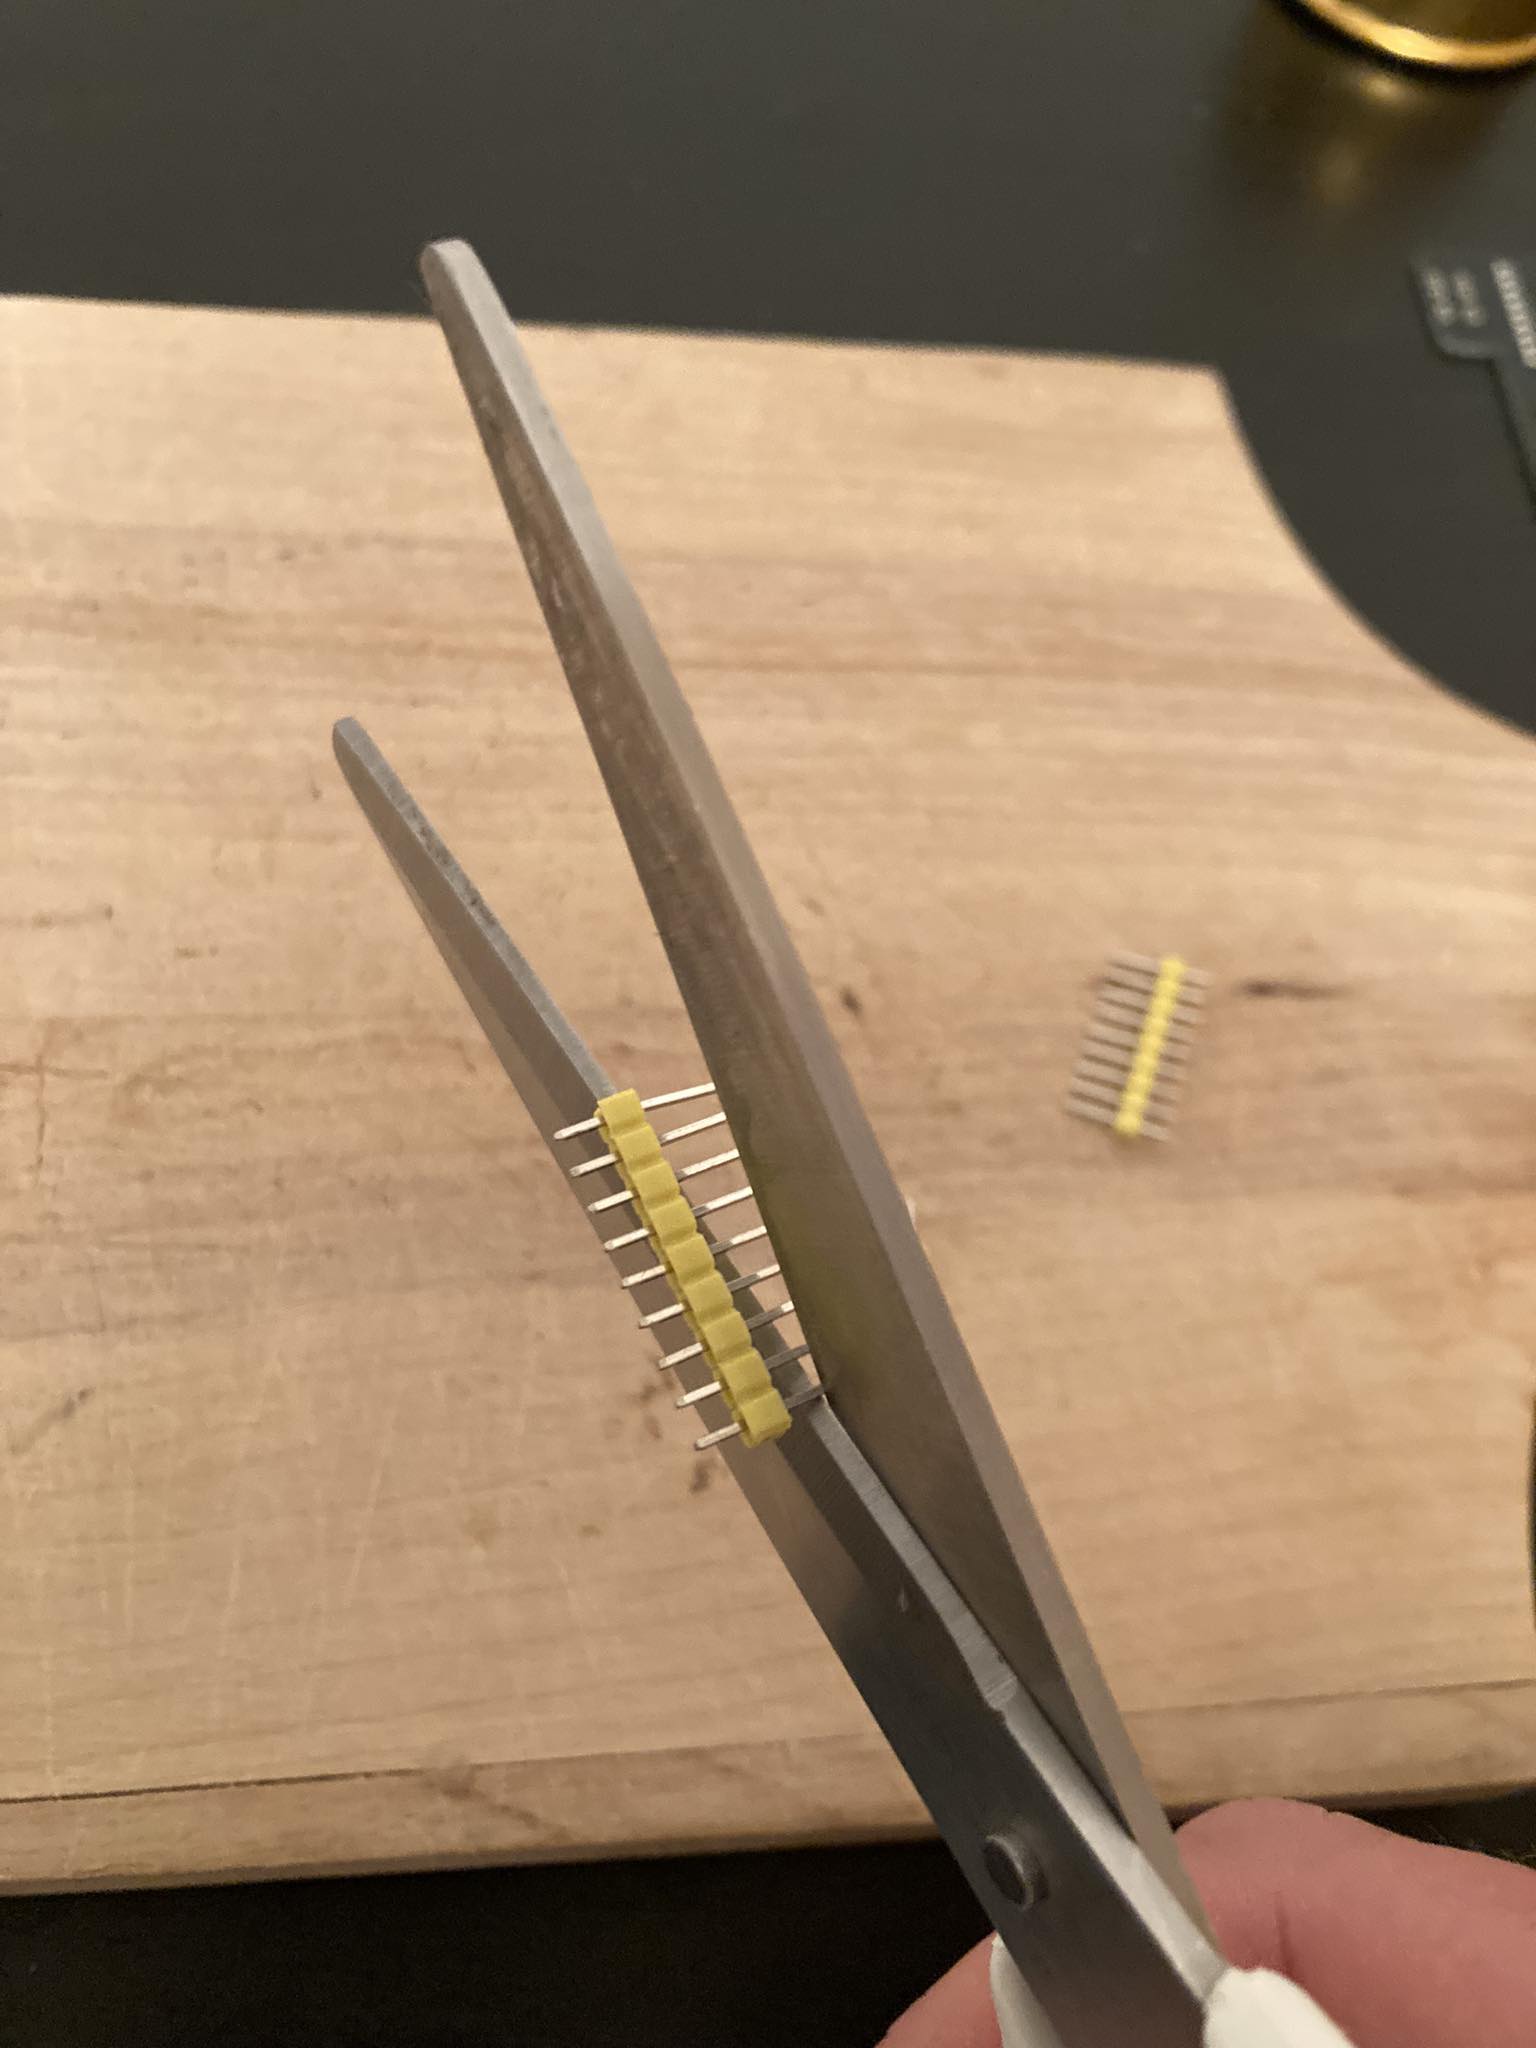
Then I have soldered rp2040-zero and key switches. If you looked into PCB (here https://github.com/daliusd/joyride) at top left switch, then you might notice that it looks like all 3 key switch points are connected. They are not, but I was afraid that this will not work properly when soldered.
When soldering I do everything in this way:
-
Solder MCU first.
-
Test connections for each key switch with piece of soldering wire or metal clippers.
-
Solder key switches.
-
Test again left and right side separately.
-
Solder TRRS connectors (however I don’t have them now, so I have to wait).

As I am still missing some parts I have decided to disassemble PSP 2000 joystick as it is not working properly anyway.
First you can remove button (just pull it stronger to remove):

Then I have removed metallic cover from the bottom and bottom board can be easily separated as well:
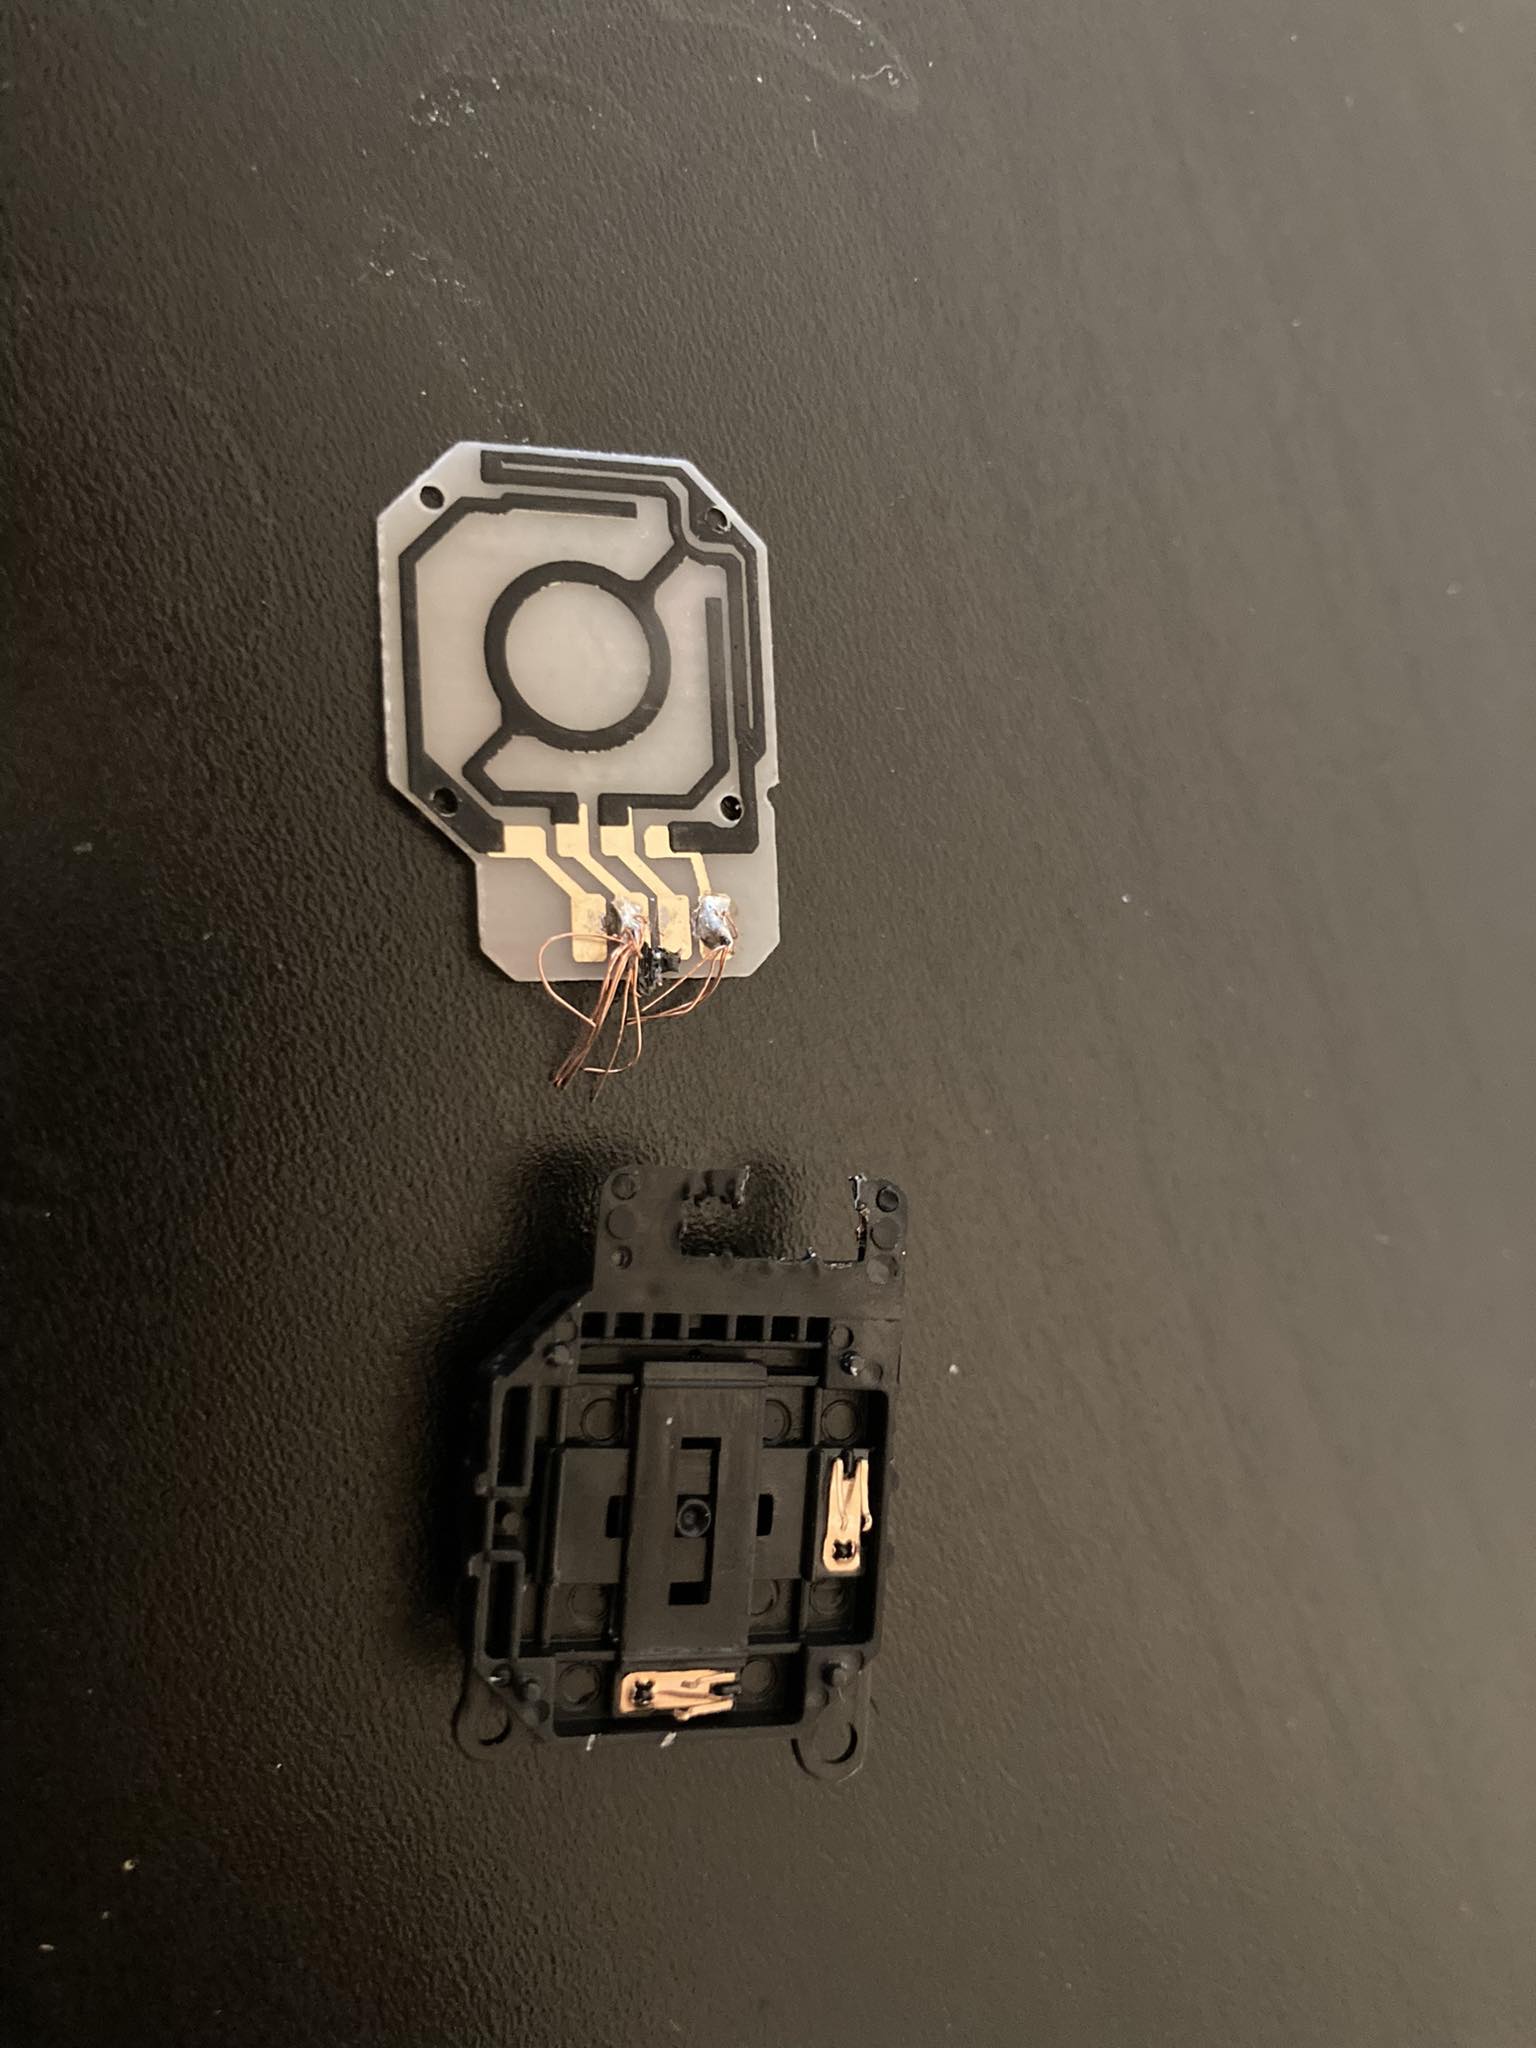
Then you can remove little pieces that determine how much joystick is pressed. First:
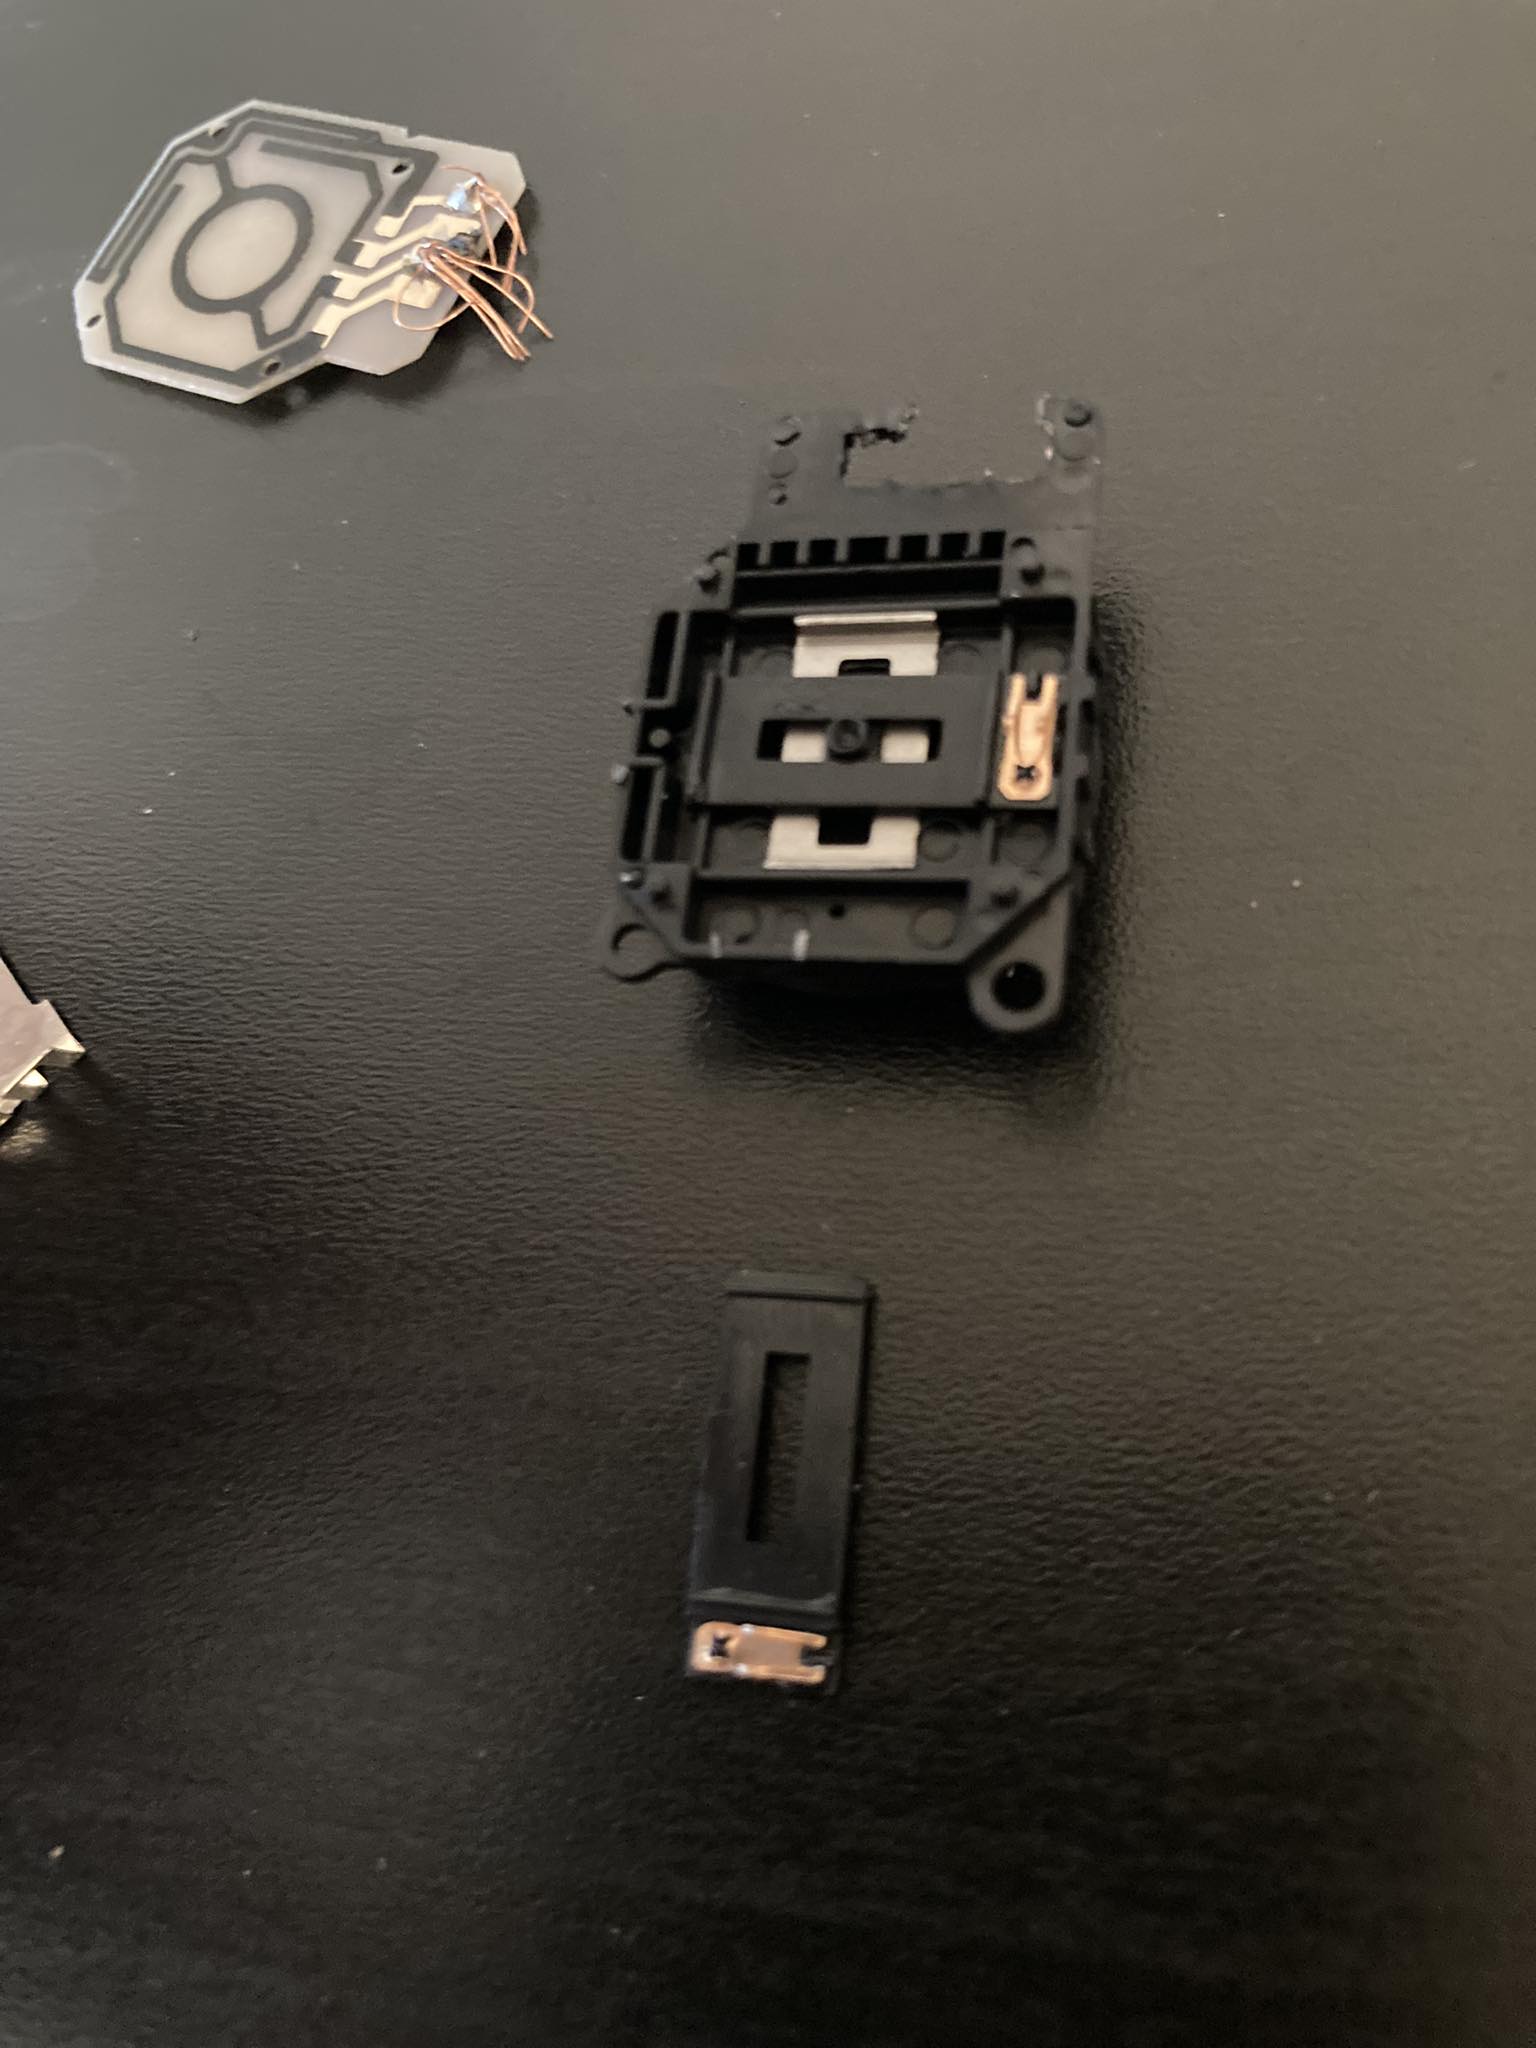
Second:
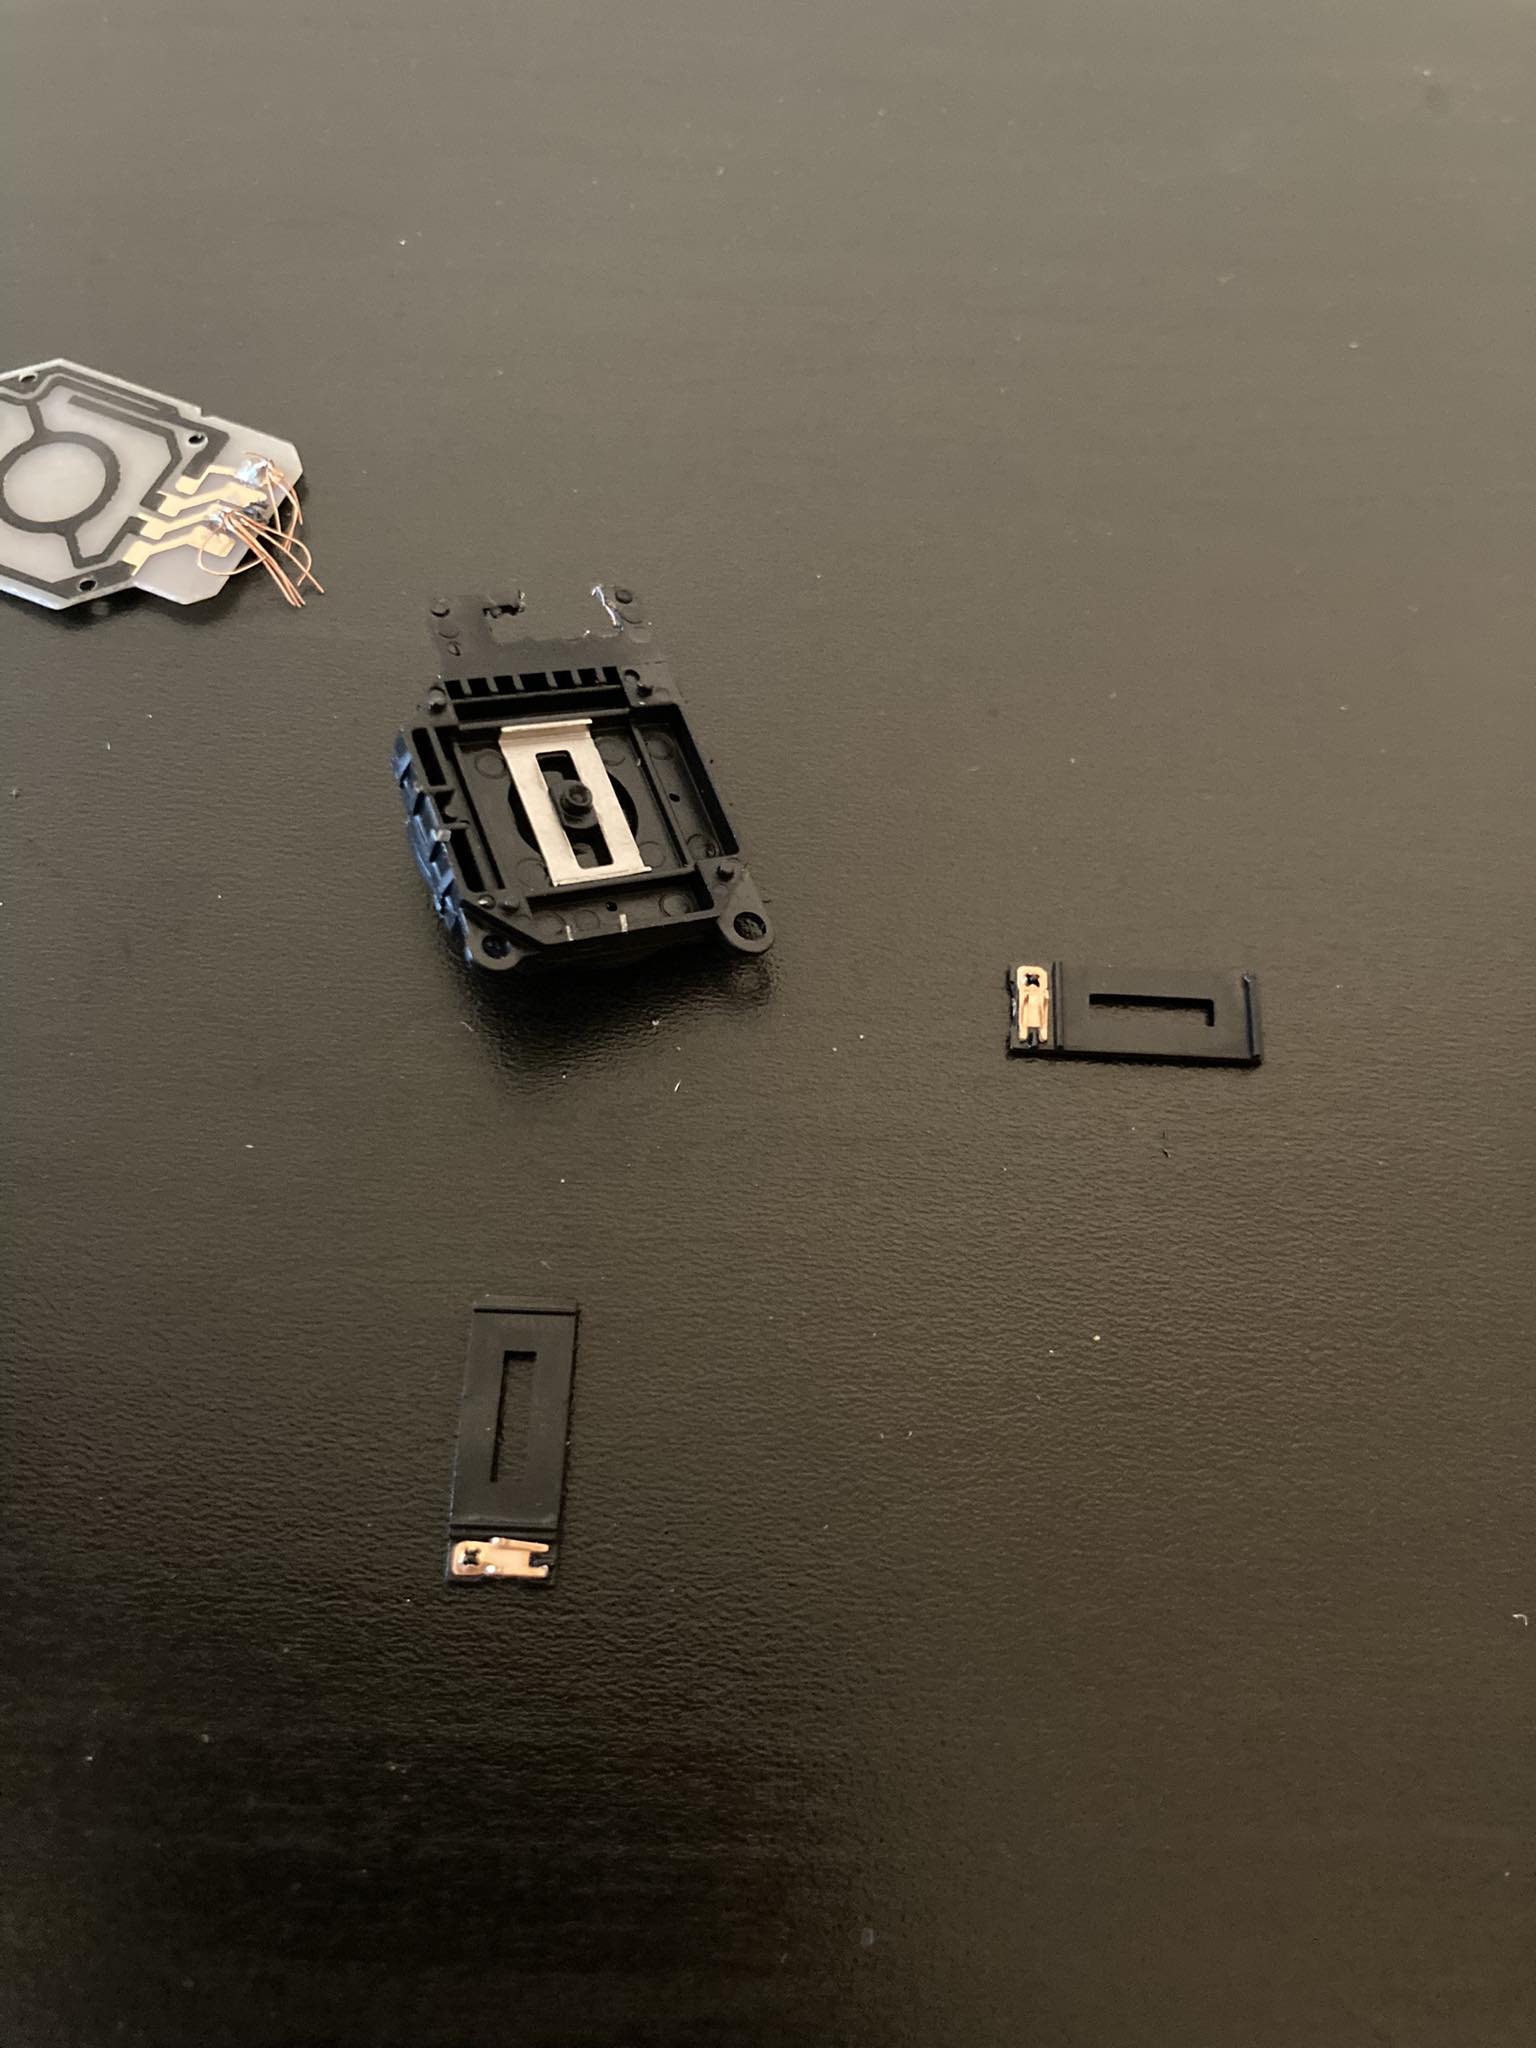
Then I have removed little metallic part that stops switch from rotation (I believe it has not other function):
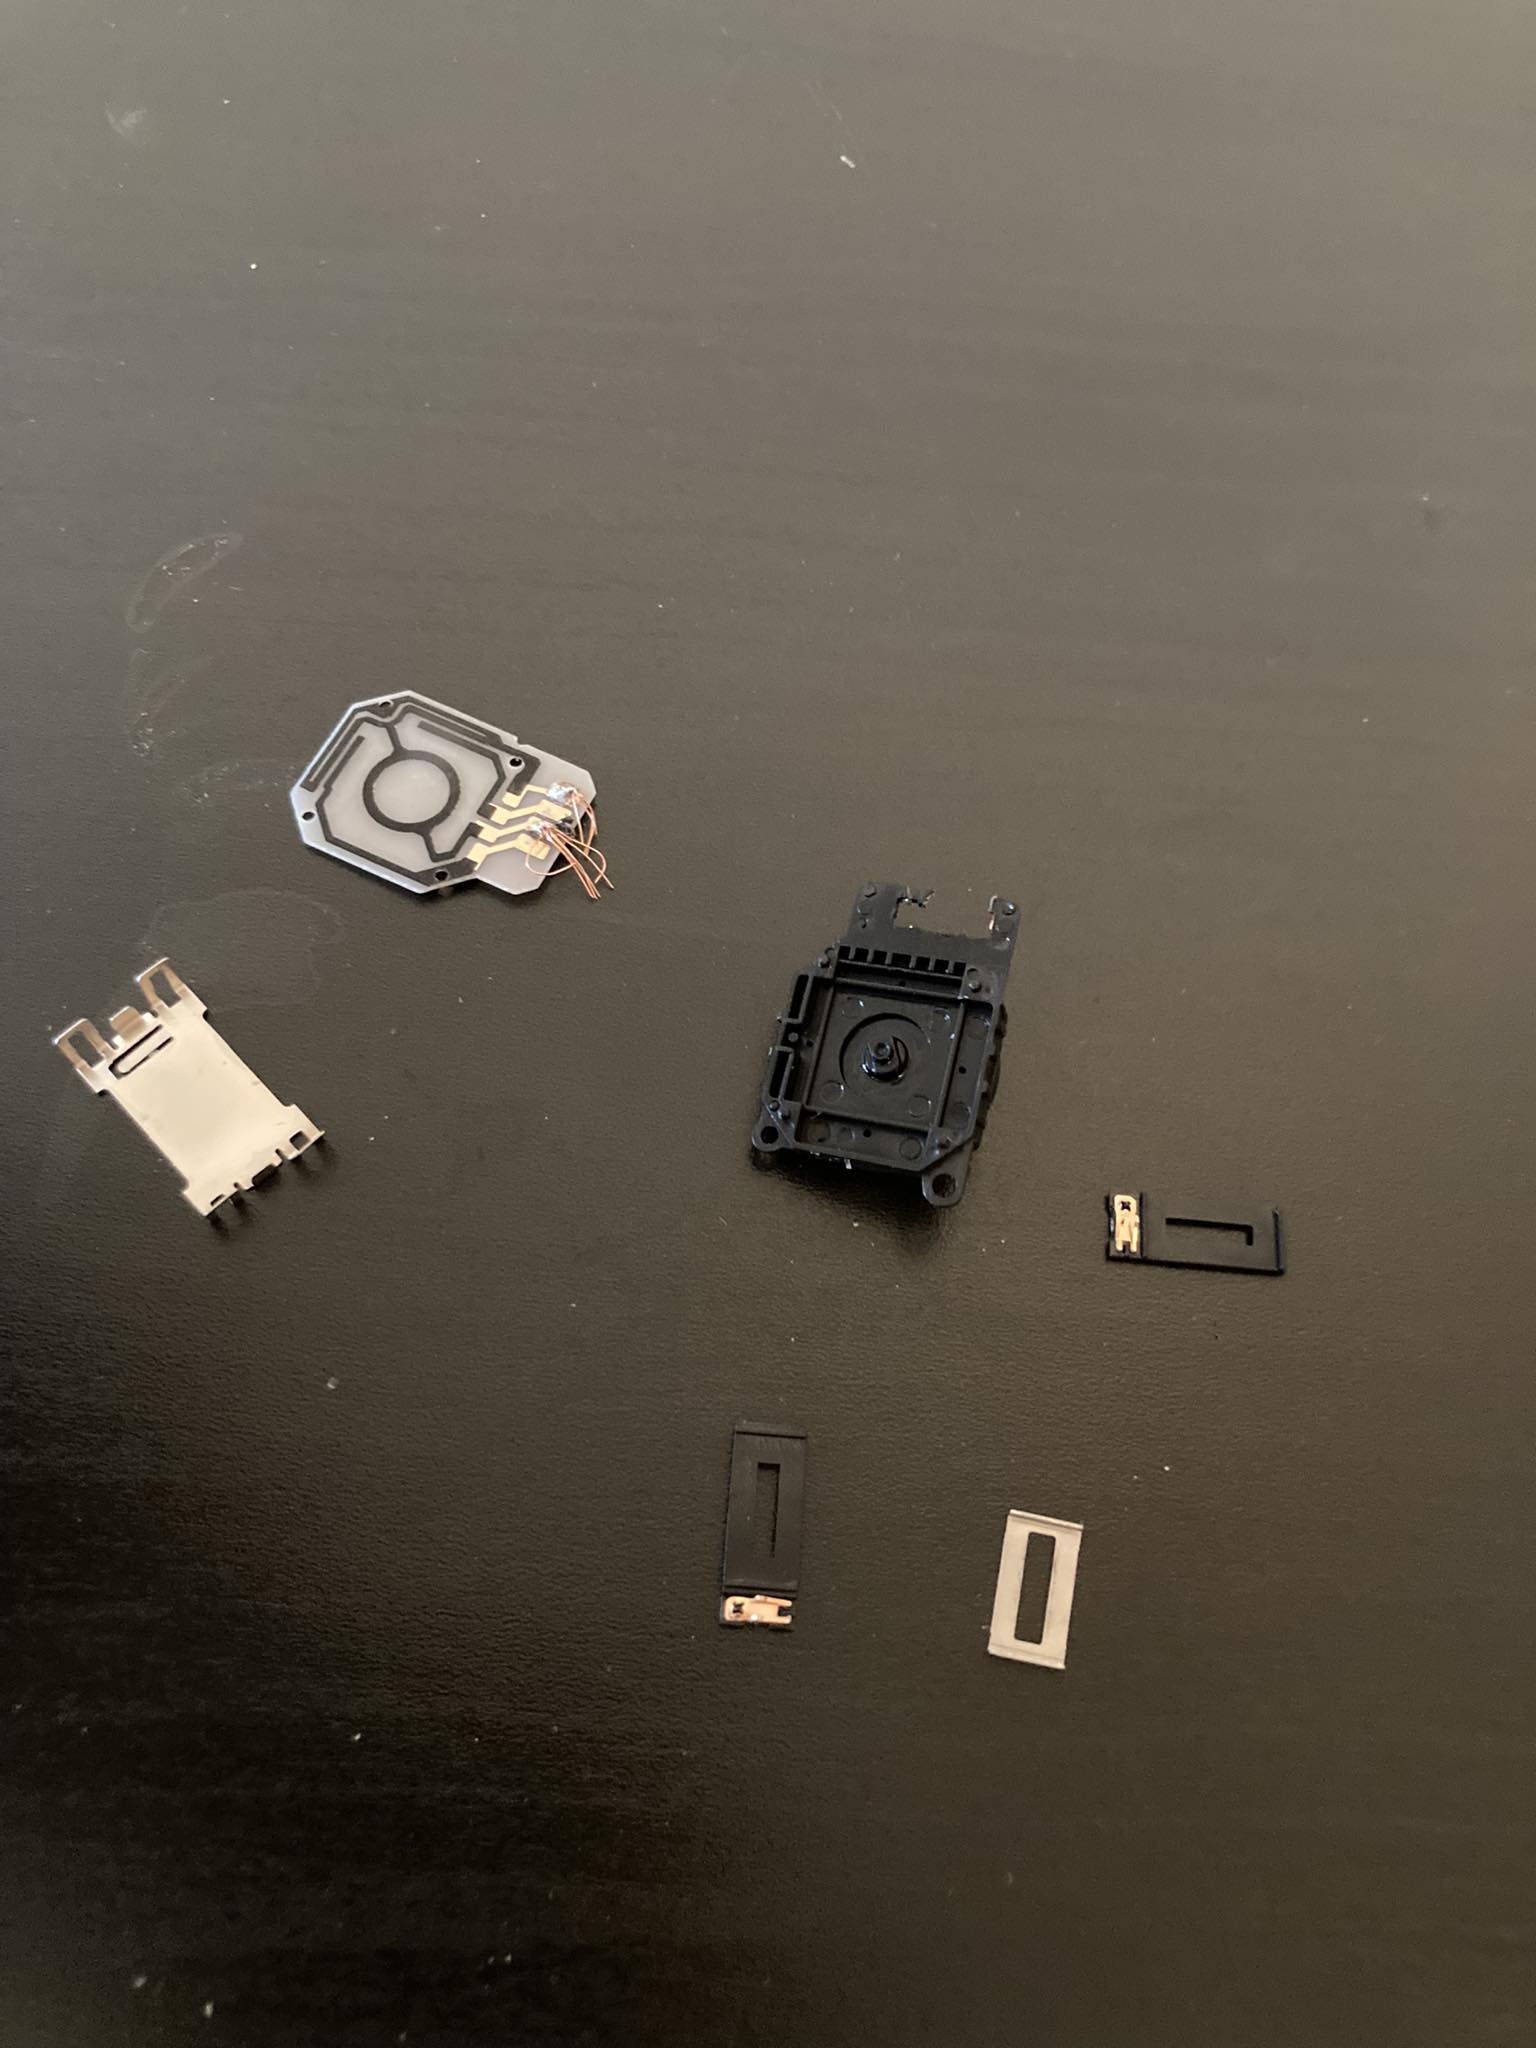
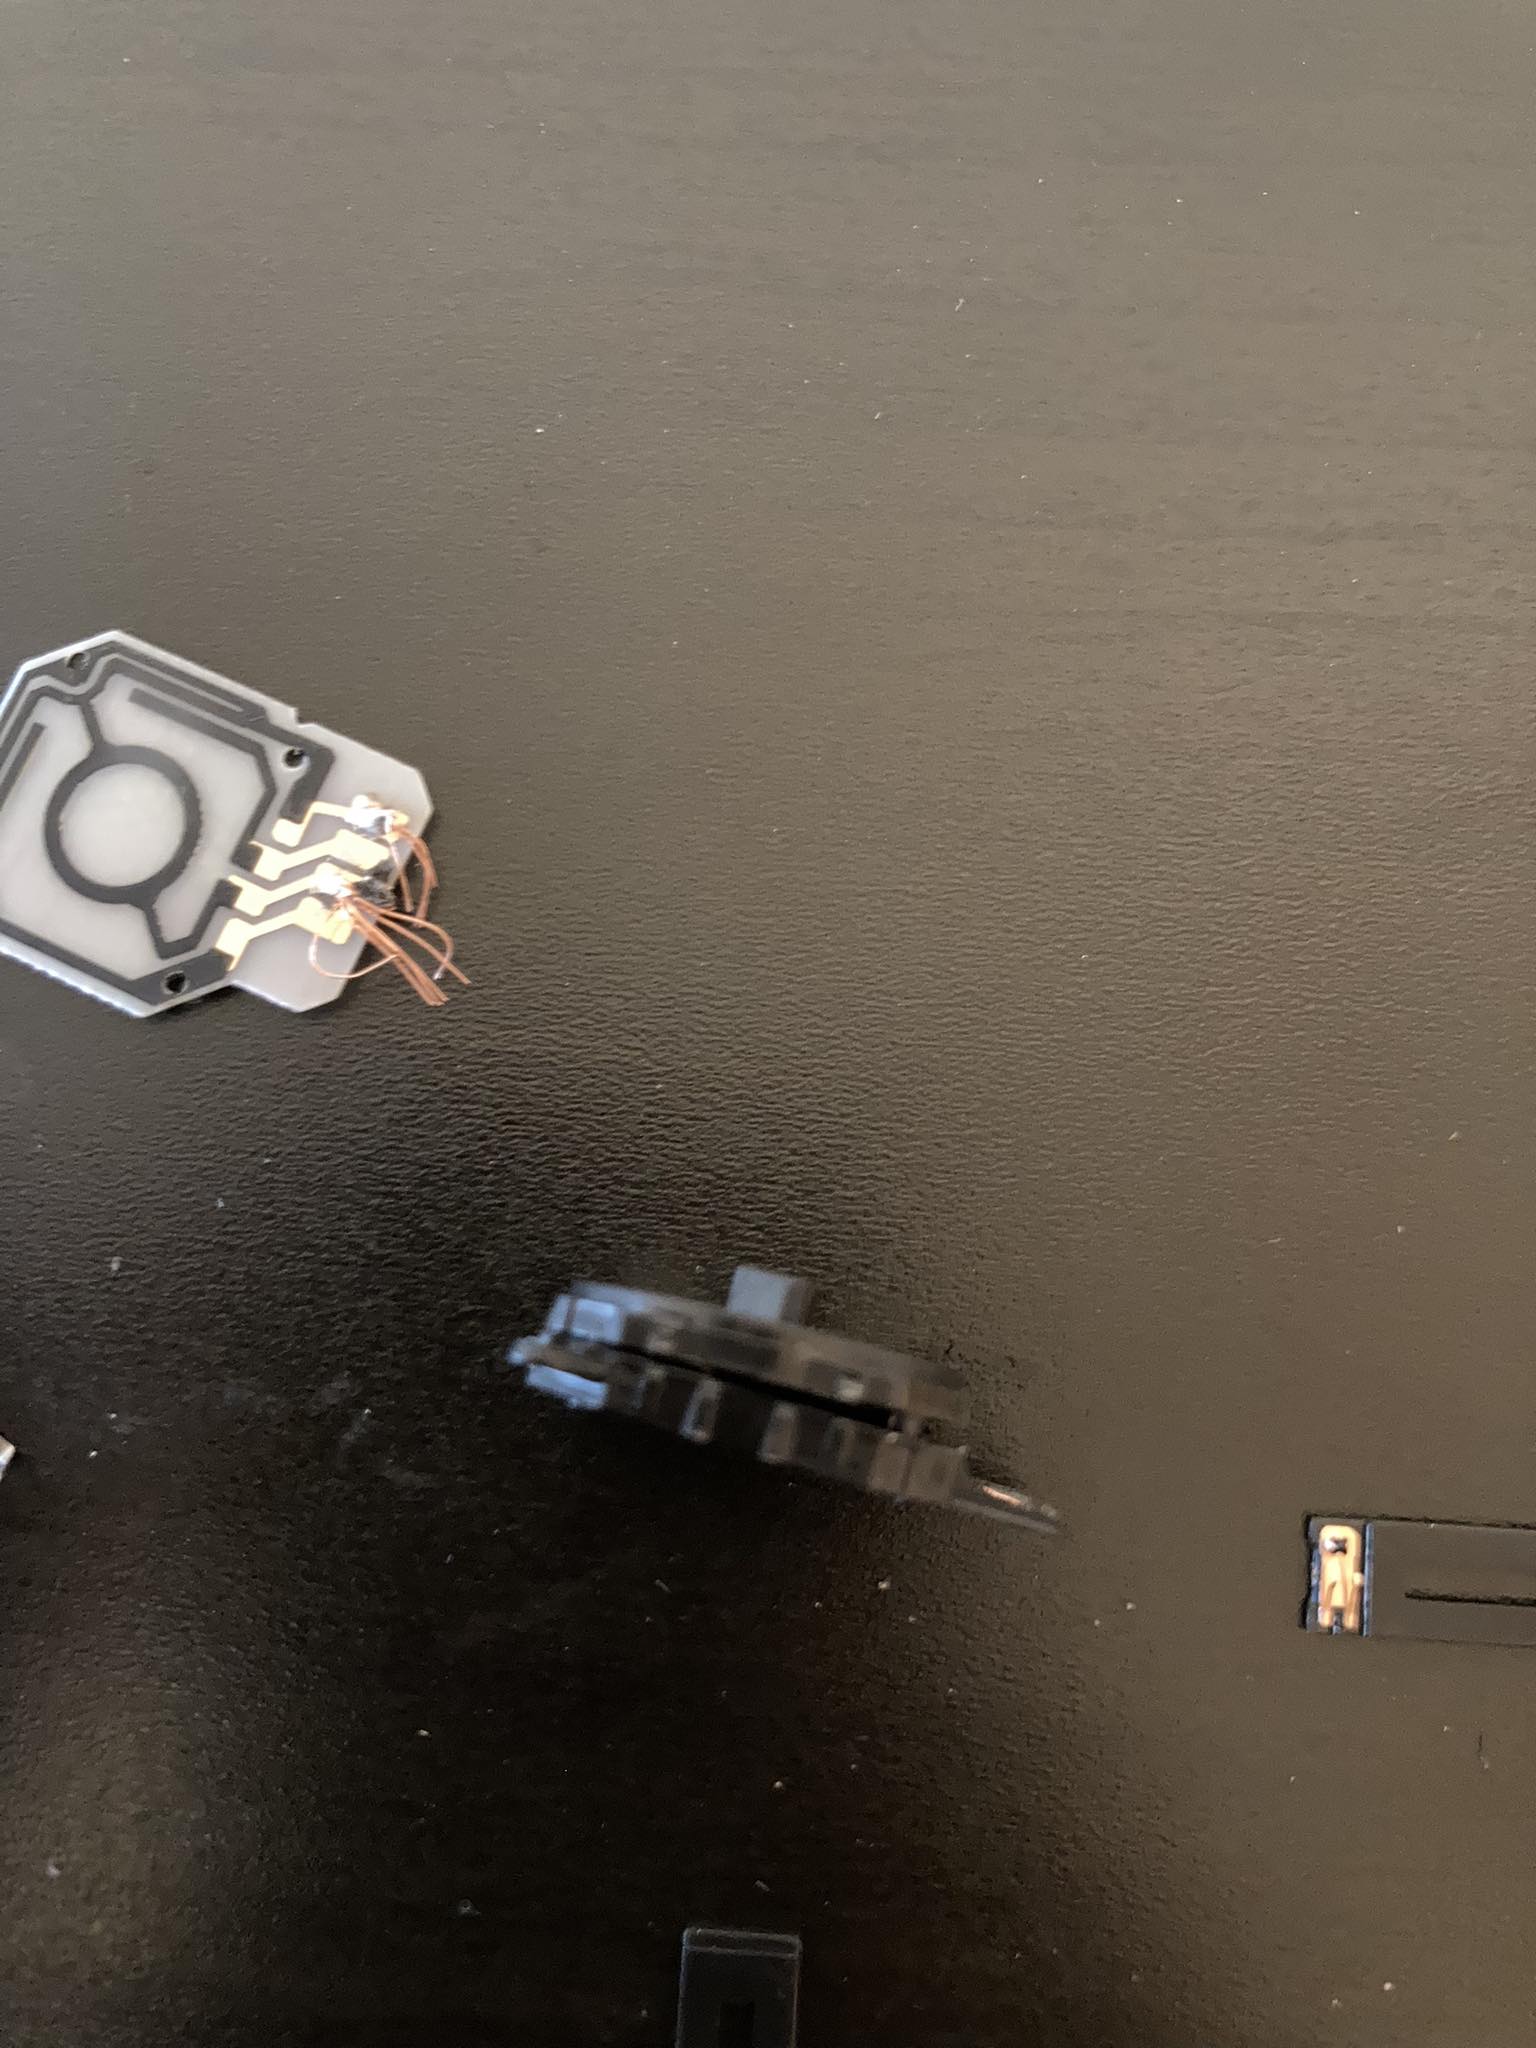
Since nothing else can be separated here I had to separate two plastic parts keeping remaining parts:
Inside we simply have metallic spring. I have expected more of them there, so this is interesting part for me:
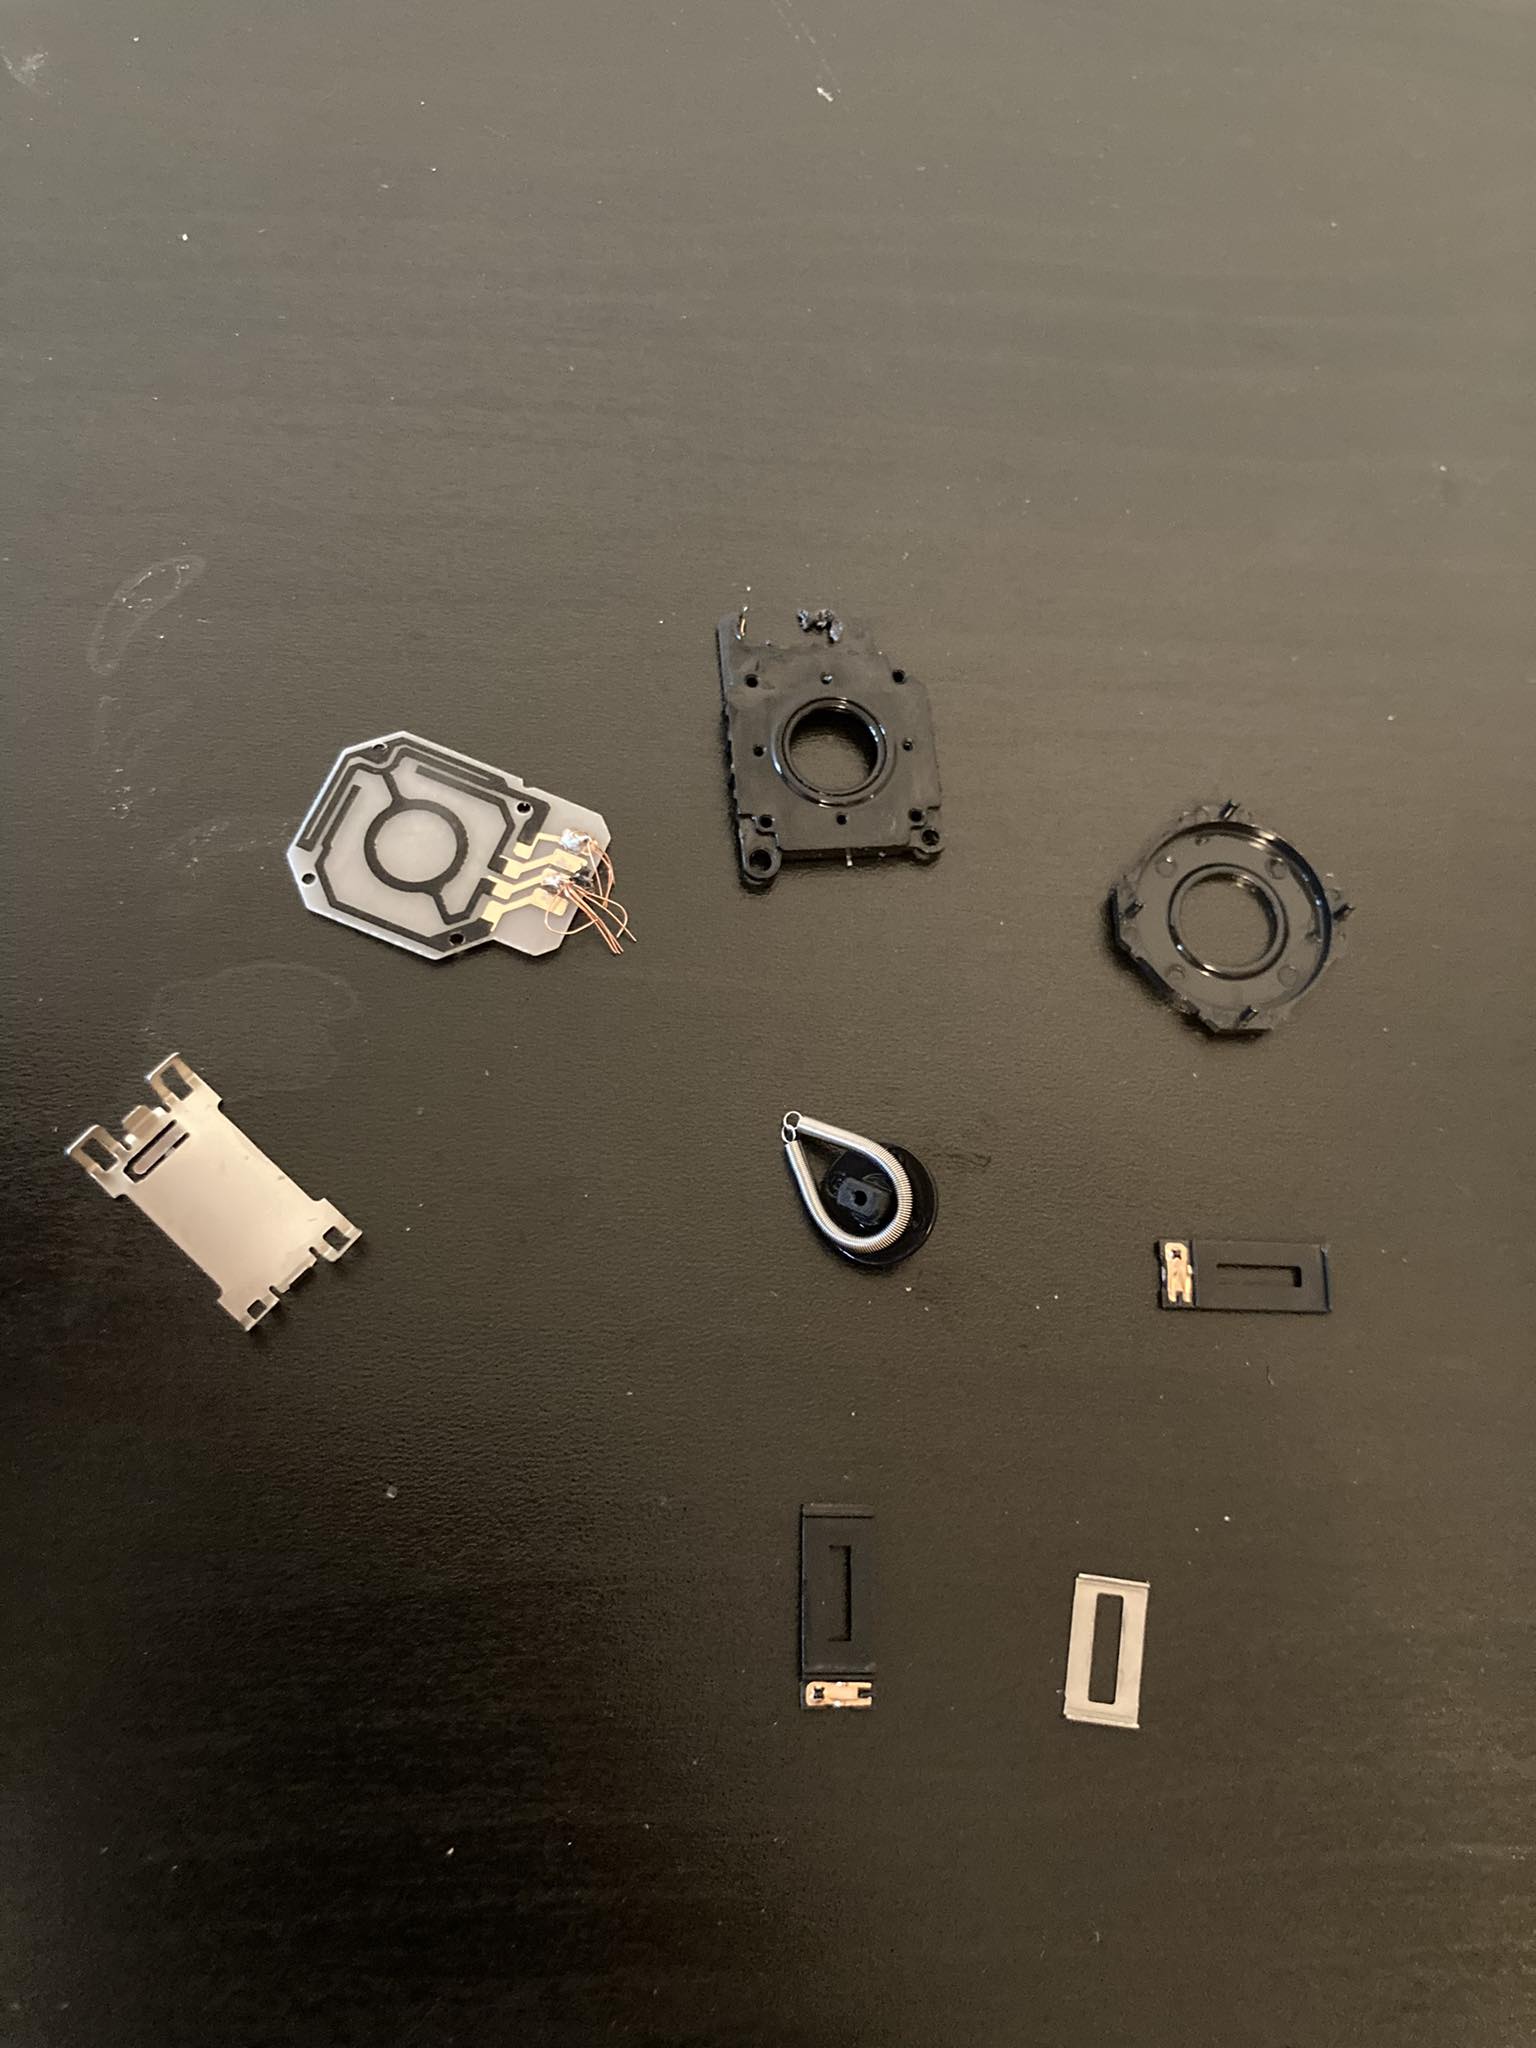
Overall it looks very fragile item. Now I will wait for other parts.